PHPStorm – How to configure deployment in server
PHPStorm is awesome tool for PHP development. Sometime working in local machine is not enough and we need to deploy our code in server. We can copy the files by some file transfer tool (e.g. FileZilla) but if we need to deploy rapidly even in every save, PHPStorm has fantastic inbuilt functionality to deploy code immediately on every save. Lets see how we can configure it.
Suppose you have example.com server and you need to connect your code to the server and deploy on each save.
Go to Tools -> Deployment -> Configuration.
You can see Popup named Deployment. Now you need to make the settings.
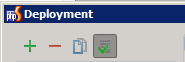
At the left of the popup there are 4 icons. Green plus (+) is used to add new server. Red minus (-) is for delete, 3rd icon is for copy from existing settings, 4th icon is for making the deployment setting default for current project. Click on green plus (+) to create new server settings.
Give any name and select type. Most of the cases we choose SFTP to securely transfer the files. You can select other options as well. Click OK.

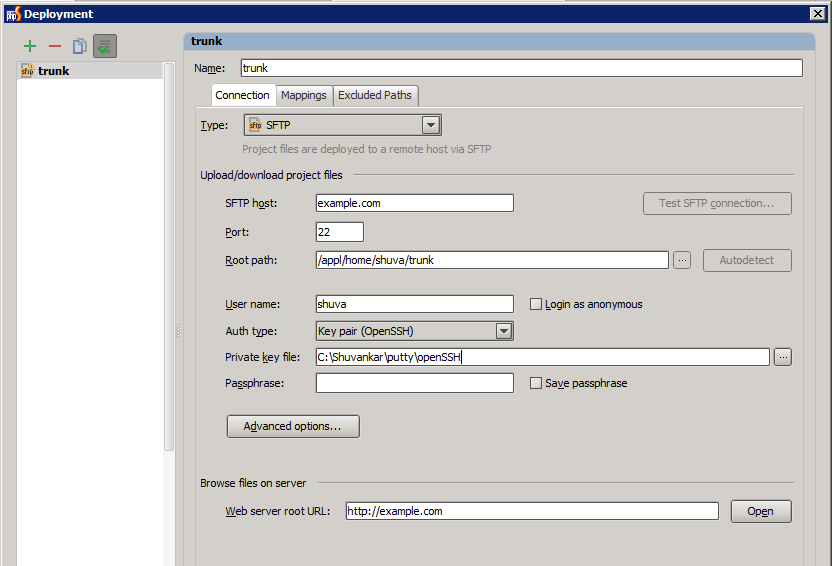
Now its the time to fill connection tab.
– Type should be SFTP (as we selected before)
– SFTP host – give the server name or IP.
– Port – Should be 22 for SFTP connection.
– Root path – Give the absolute path of the server where the files will going to be deployed.
– User name – Your login name for the server
– Auth Type – You can provide password or Key pair (public-private key – You can generate keypair using PuttyGen. )
– Private key file – If you chosen Keypair then point private key (OpenSSH format) generated by Puttygen.
– Passphrase – You can choose passphare while generating RSA key. This is extra layer of protection to protect your key authentication.
In the Advanced option you can limit concurrent connection and control the encoding.
After connection tab, goto Mappings tab.
– In Local path, point your local project source code path.
– In deployment path, if it’s the root path (which was provided in connection tab) itself then just enter . You can deploy inside some subfolder as well.
– Webpath can be /. You can see generated Project url in blue color.
You can exclude some local and server path in Excluded Paths tab. If there are multiple settings available you should select a default server. Click on Use this server as default button or 4th button at left above.
Now setting is done. Click OK.

You can deploy the code OnSave or manually after a period of time. For auto deploy click Tools -> Deployment -> Automatic Upload.
You can check some deployment options as well (Tools -> Deployment -> Options)

Now whenever you change something and save, it will be automatically uploaded in server. You can see the file transfer log as well.

Lets see how to create public/private key
Download Puttygen. Open it. Click on Generate. Hover mouse in blank area. It will generate key with the random mouse movement.

If you are linux lover can use $ssh-keygen -t rsa command. Once the key is generated, copy the public key (shown in the tool) and paste it to the ~/.ssh/authorized_keys file in the server.

You can add some key passphrase to add some extra layer of authentication. Click on Save Private Key. This private key can be used for authenticate via tools (e.g. Putty, Winscp etc.). PHPStorm accepts only OpenSSH private key format. You can convert you private key to OpenSSH format by PuttyGen tool itself. In PuttyGen Click Conversion -> Export OpenSSH Key. PuttyGen is available for linux as well. You can convert the key entering below command in shell.
$puttygen private_key.ppk -O private-openssh -o myOpenSSH
Use the Key based authentication get rid of reminding lots of password in several servers. 🙂
Leave a Reply